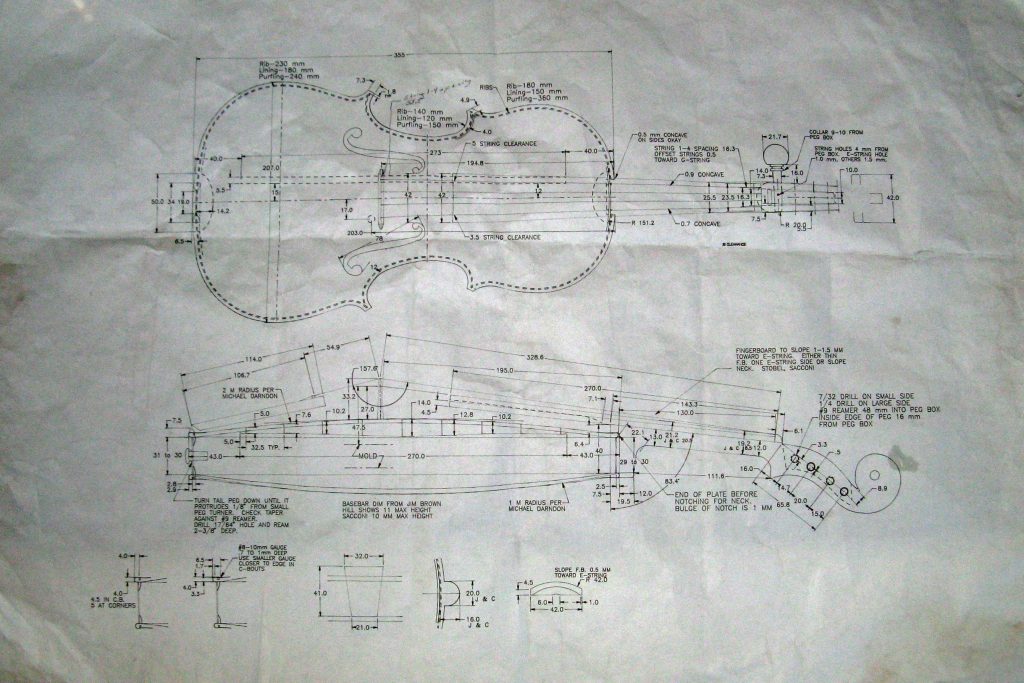
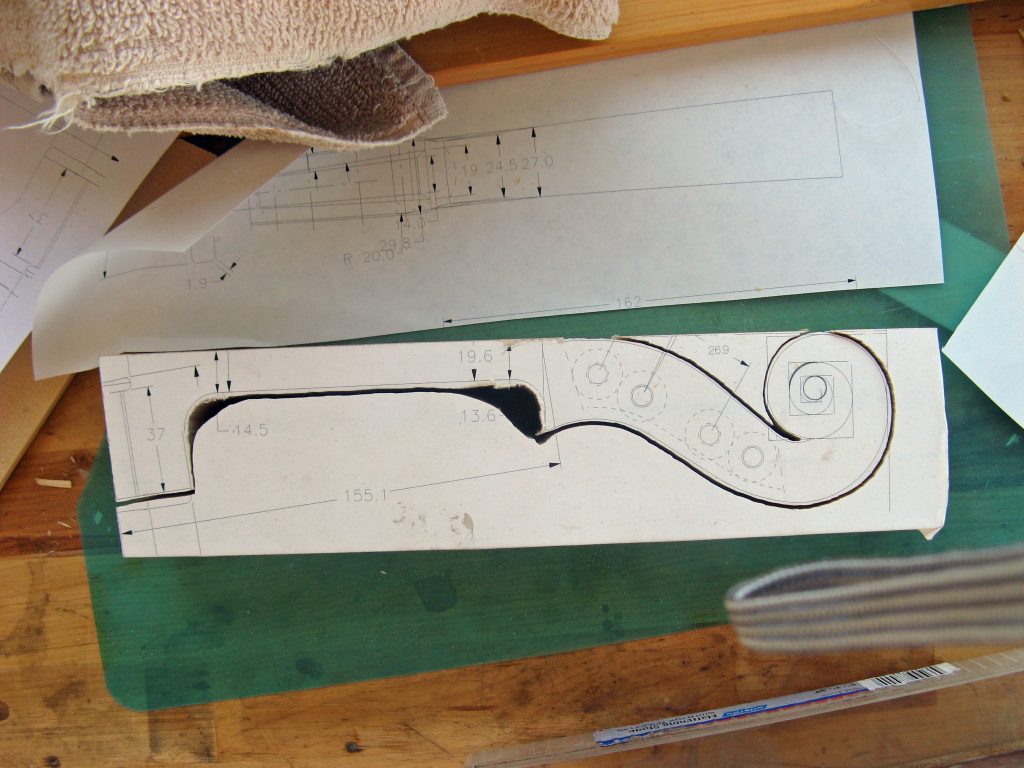
Plans for 15 1/2" viola. Utilizing my engineering background, I use technical drawings.
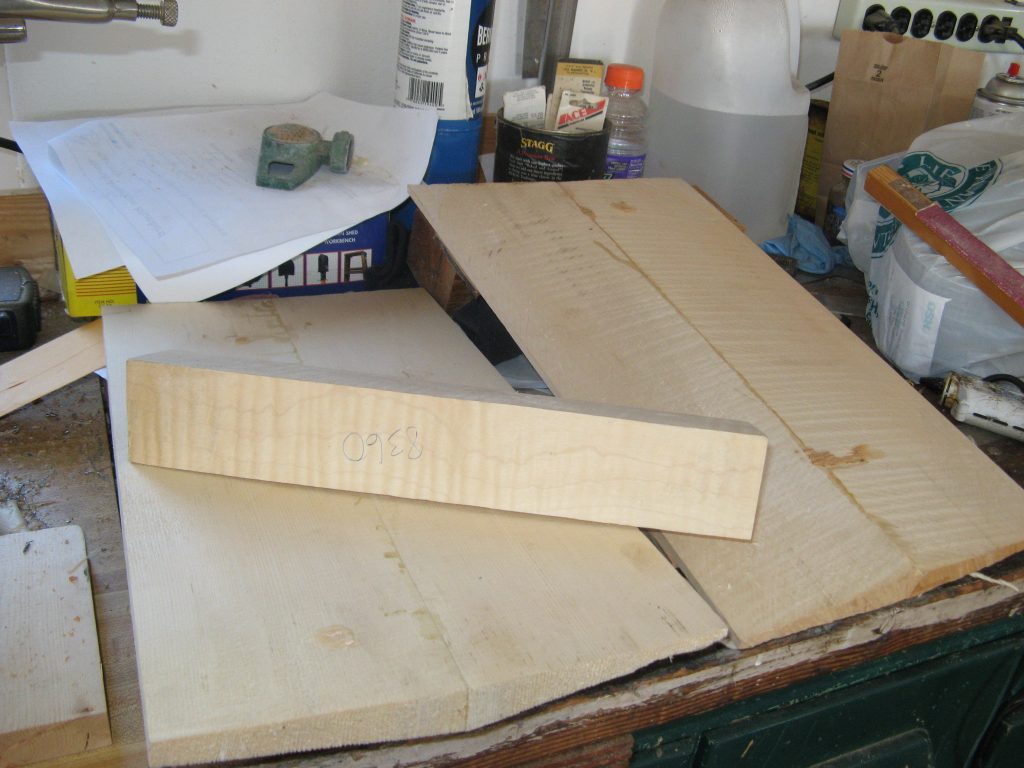
Wood for the viola. The spruce top, maple back, and maple neck. Ribs and blocks are not shown
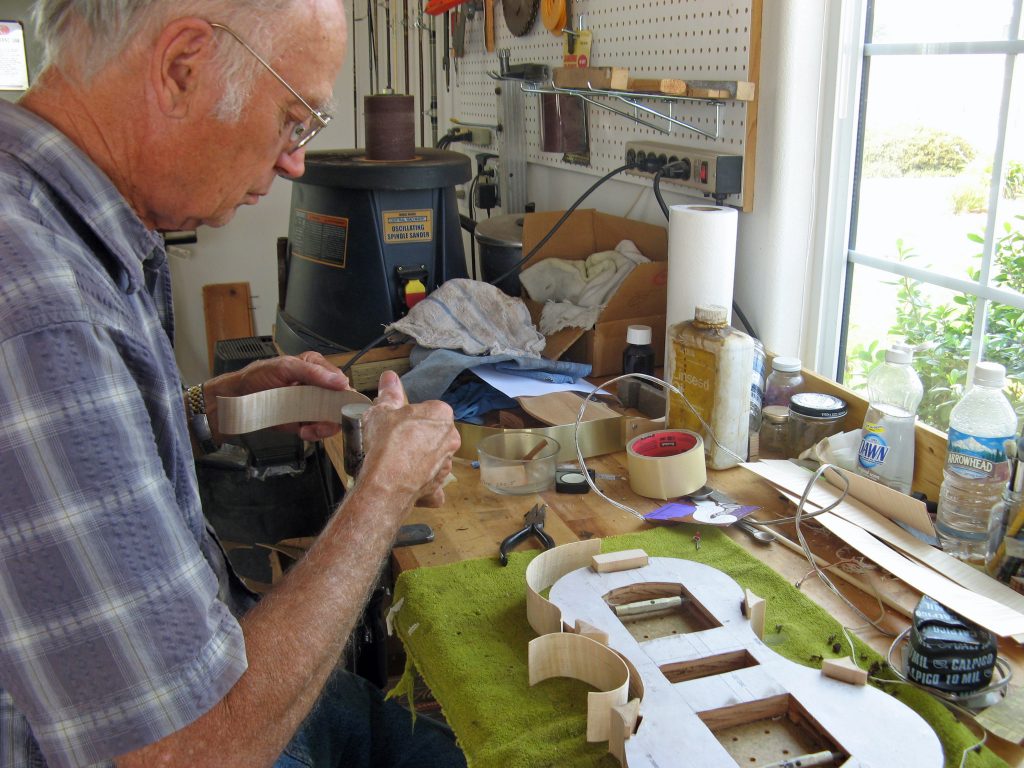
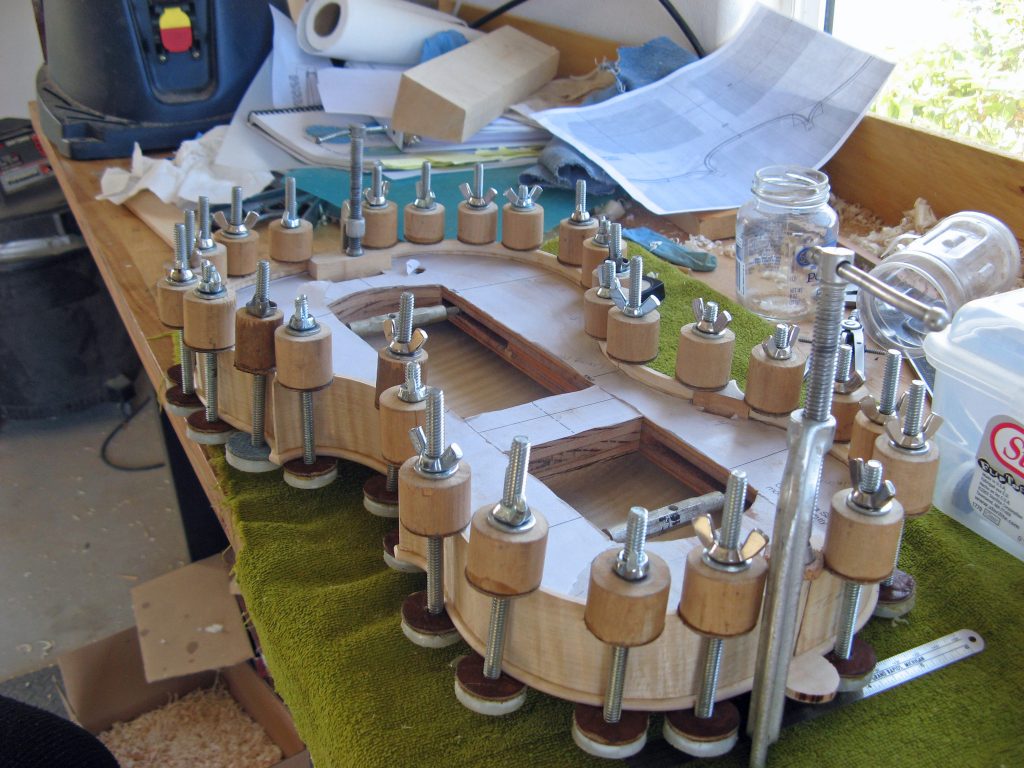
The ribs are being bent and will be glued to the blocks
The blocks are temporarily glued to the mold and will be broken loose from the moled when it is removed
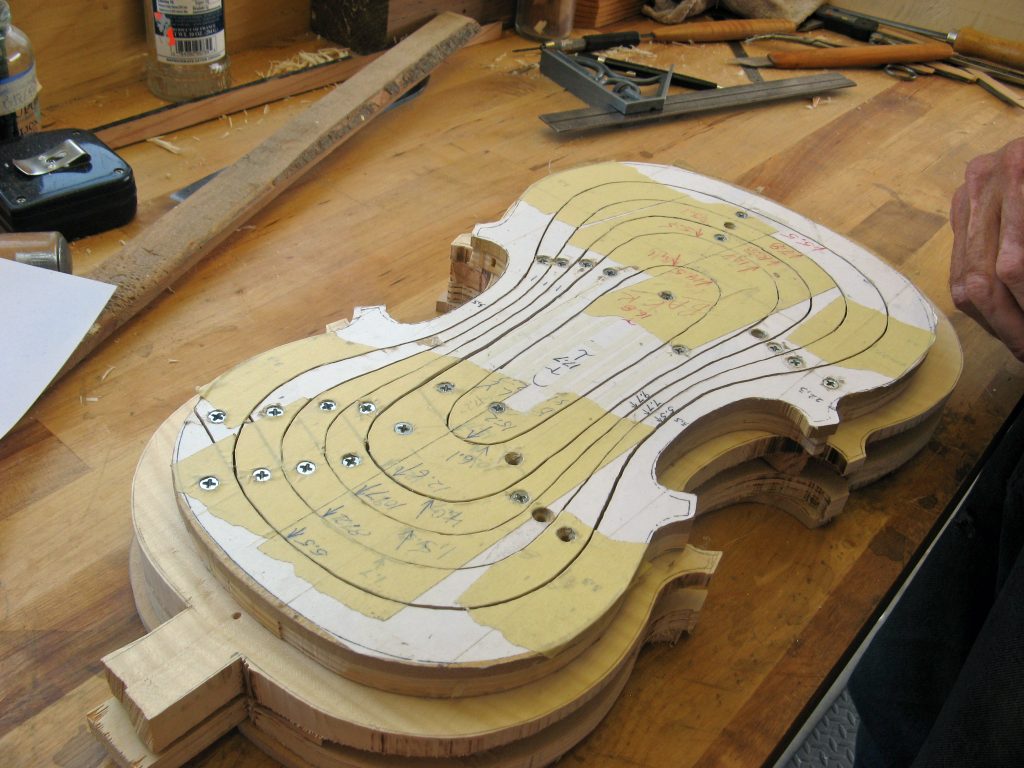
The guide for the pin router is sitting on the cutout top and back
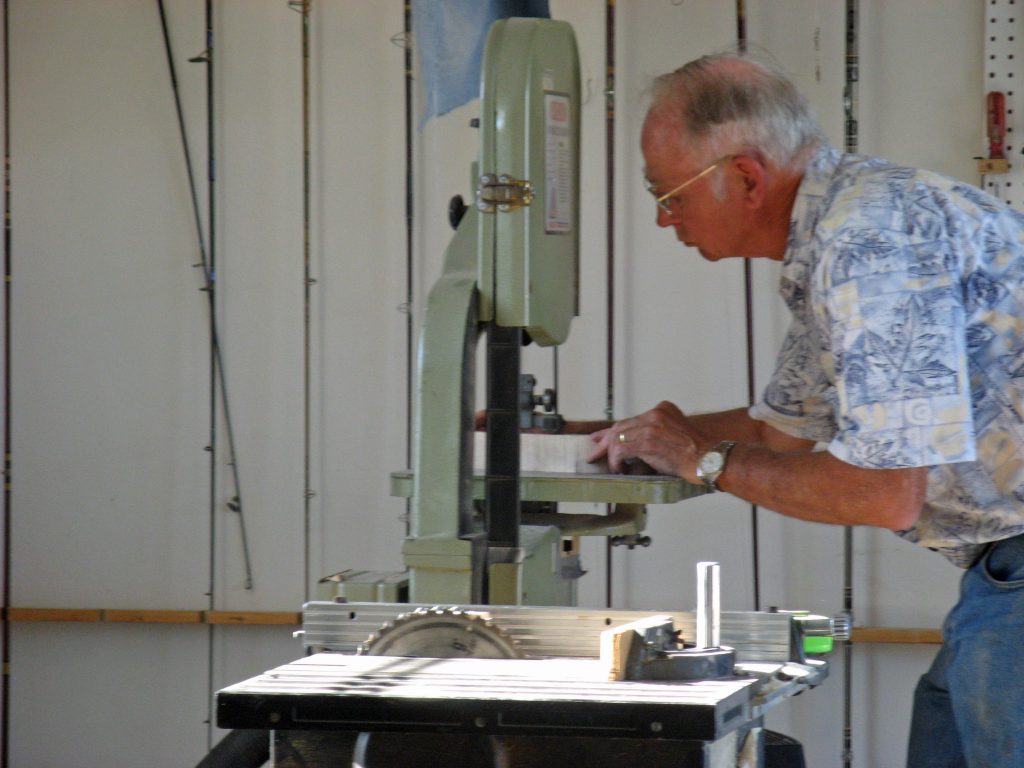
The plan for the router guide and the routed back. The router is only used to remove the bulk of the wood. The arching and graduation are done in the traditional way with finger planes and scrapers
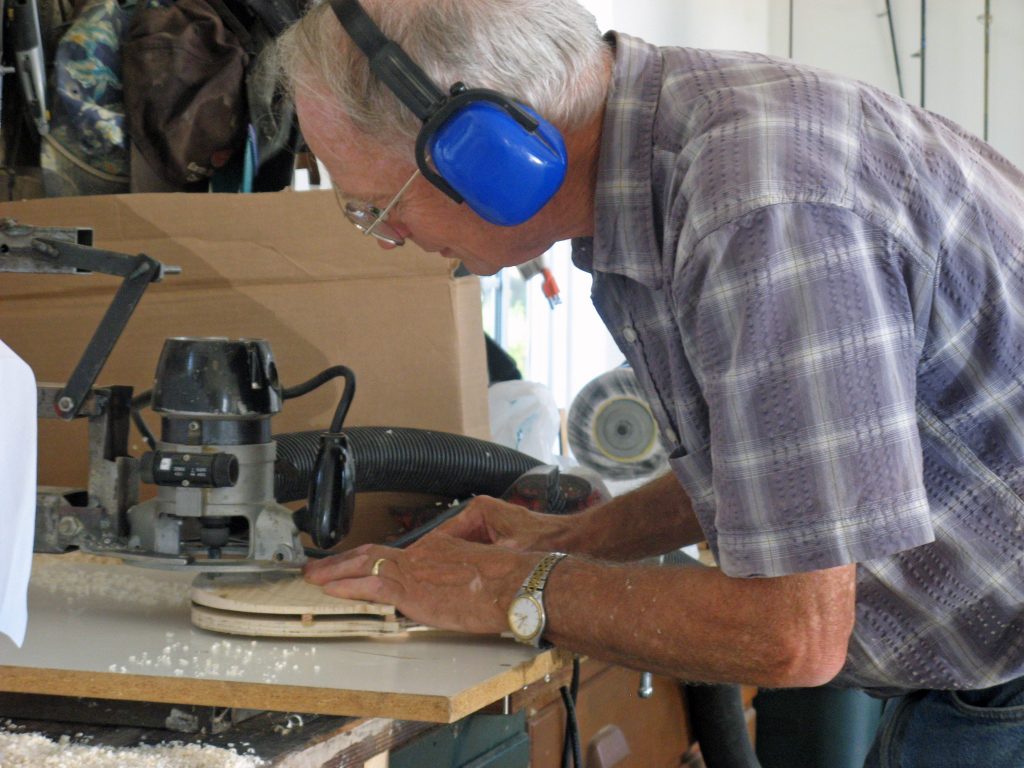
Don is routing the back
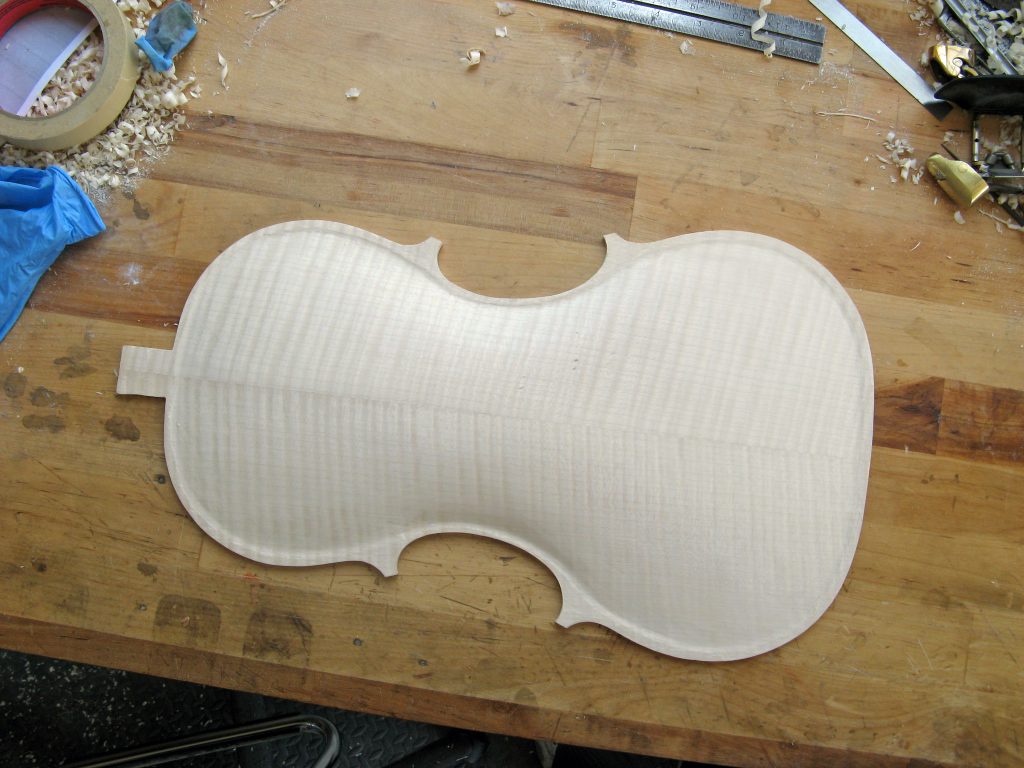
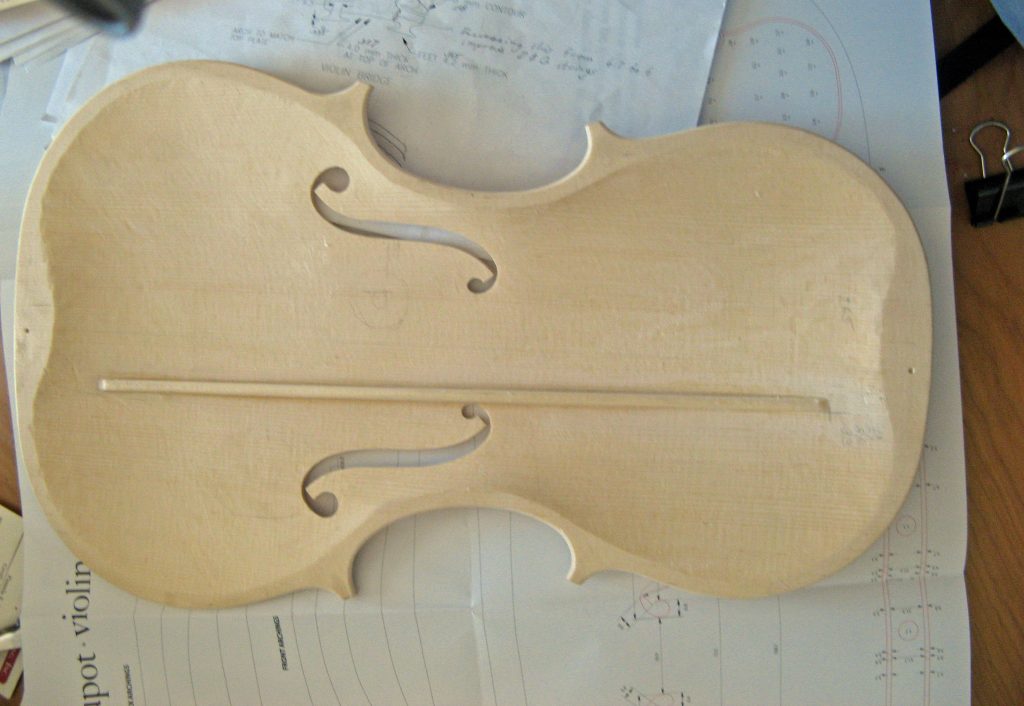
The back has been planed and scraped to a smooth surface following cycloid templates for the arching.
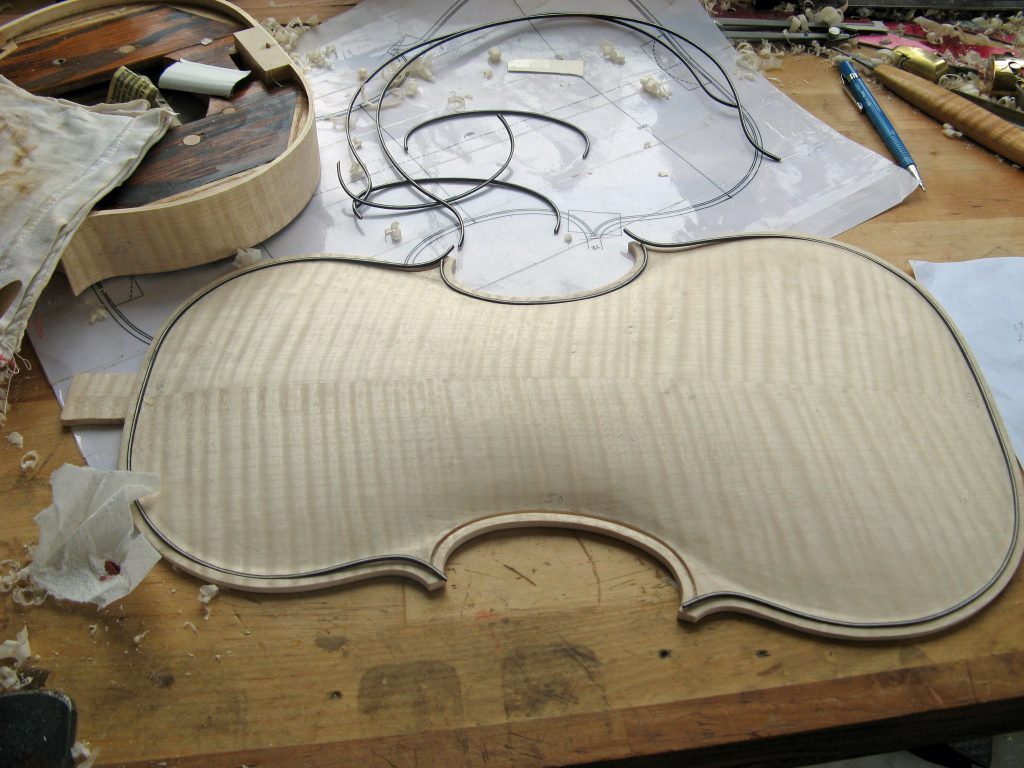
The purfling is being bent and fitted to the back
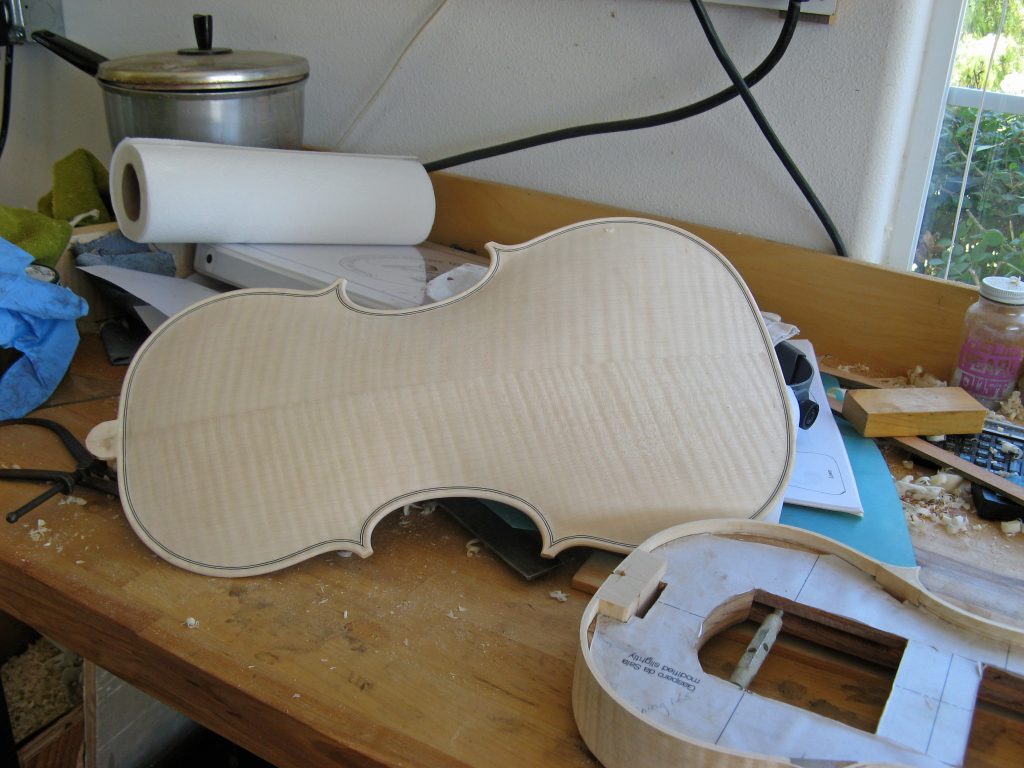
The purfling has been glued in, a channel has been cut just inside the purfling and the edges finished to make the back ready to glue onto the ribs
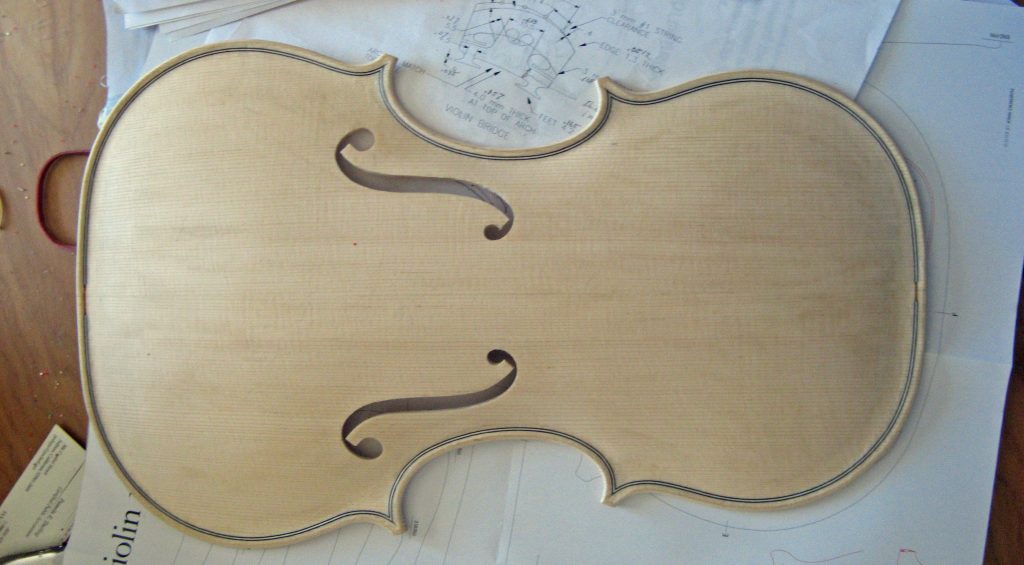
Purfling has been applied to the top, and the f-holes cut
The bass bar has been glued to the under side of the top, and then shaped. The edges have been finished
The back is being glued to the ribs, which are still on the mold.
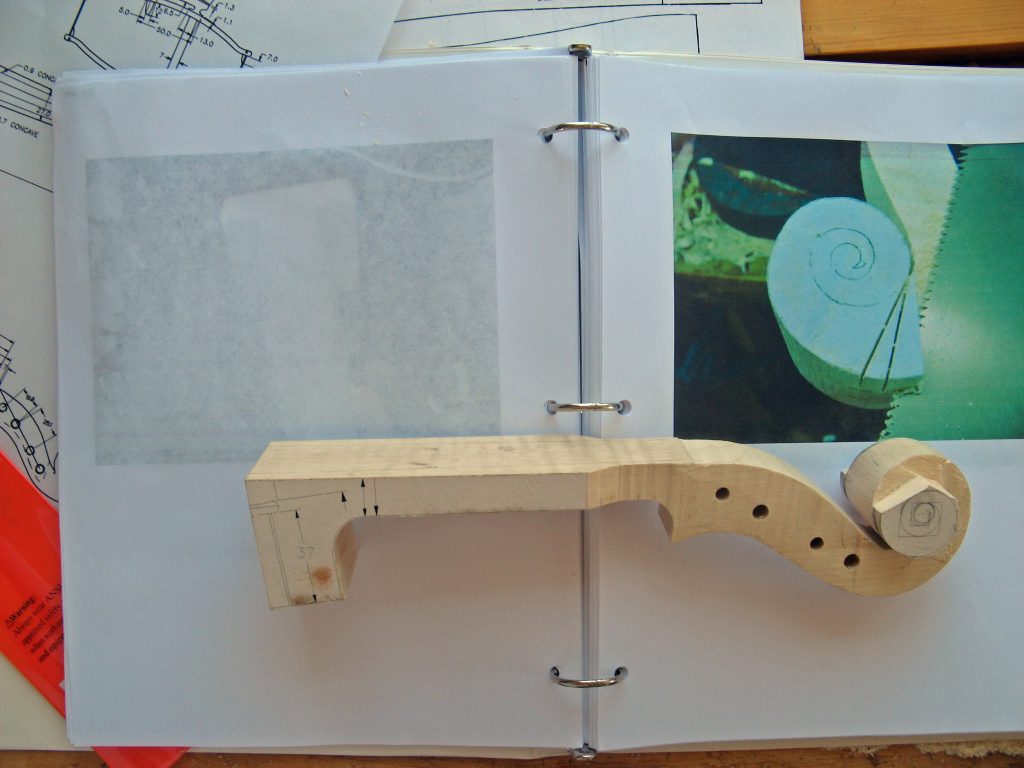
Don is cutting the neck and scroll from a block of maple
The neck and scroll are cut from a pattern, glued to the block o wood
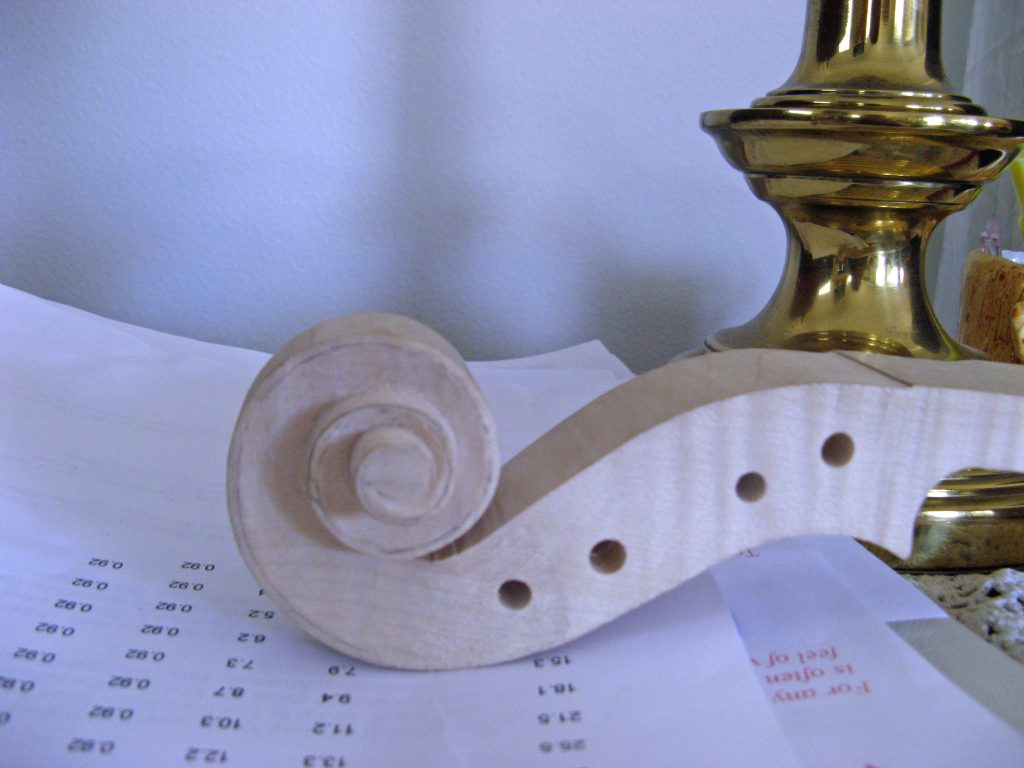
The scroll is starting to take form
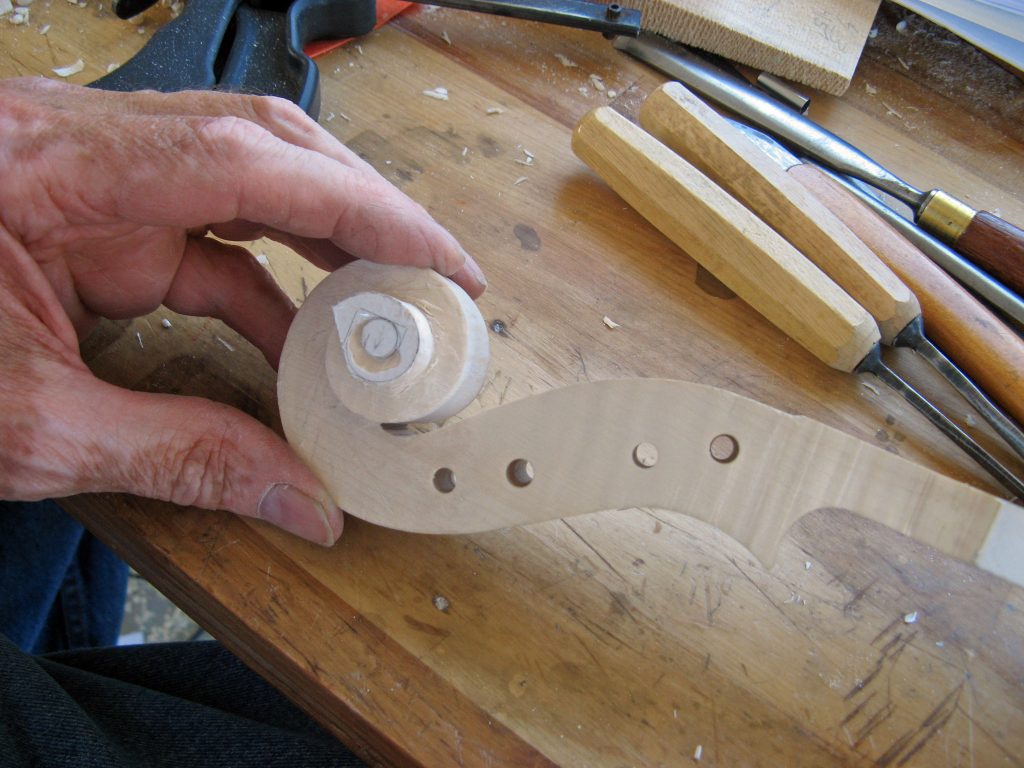
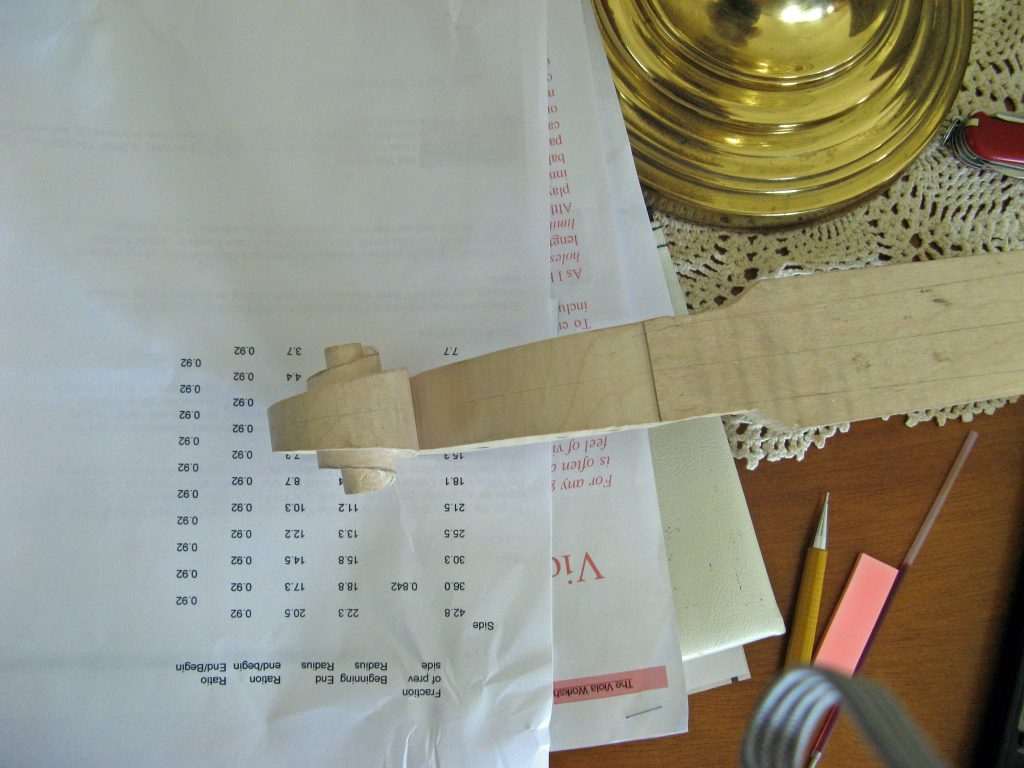
The scroll in various stages of carving
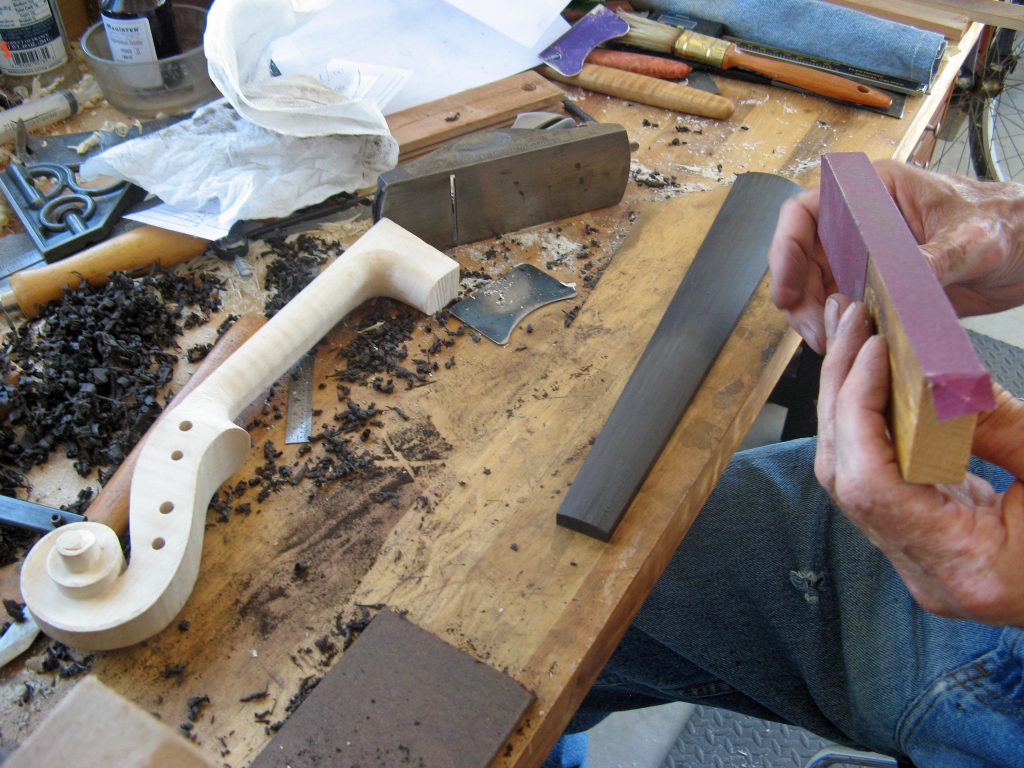
The fingerboard is shaped and fit to the neck
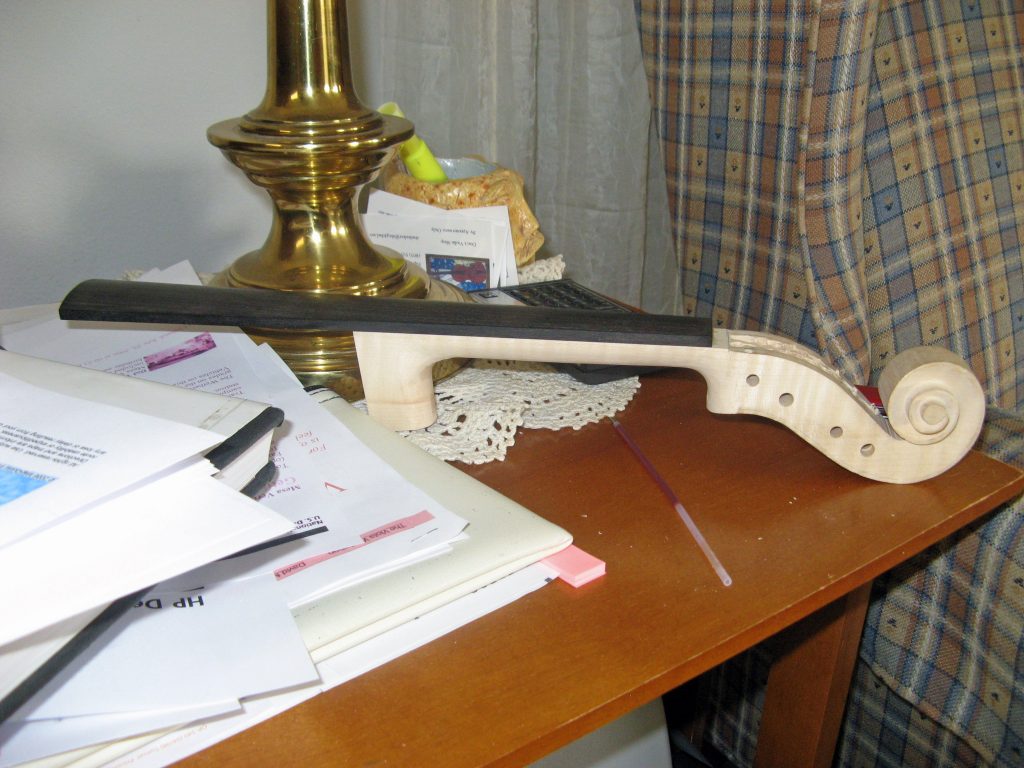
The fingerboard has been glued to the neck
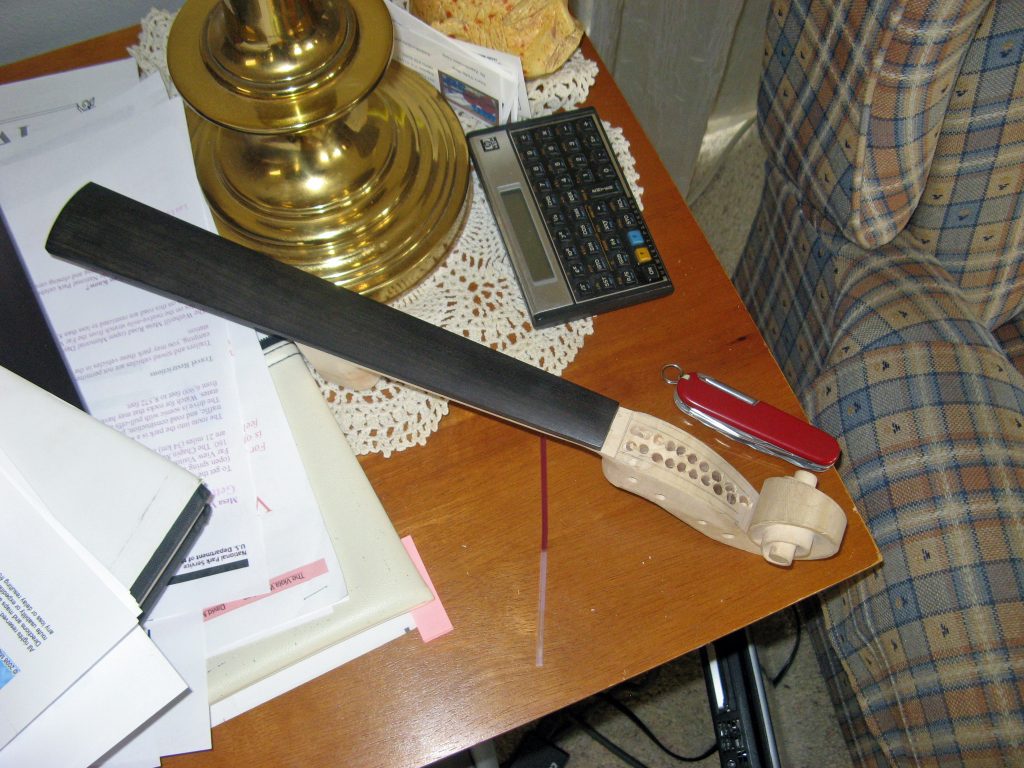
The pegbox has had holes drilled to make it easier to scoop out the wood
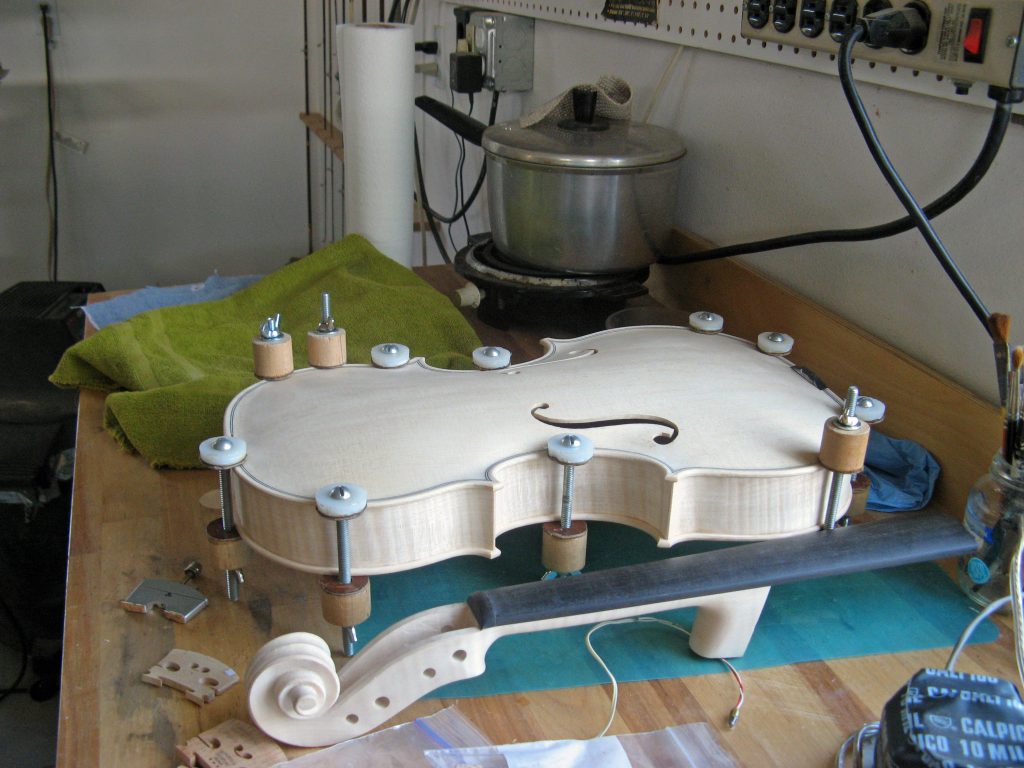
The top has been glued to the body
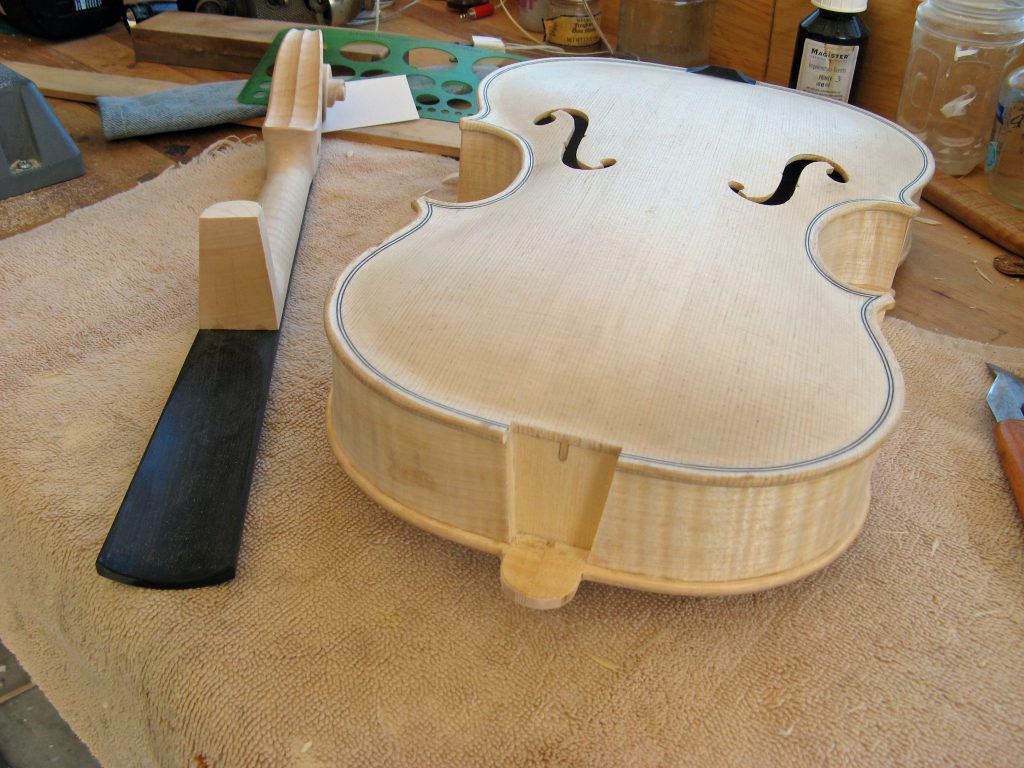
A groove has been made where the neck is glued to the body. It needs to be exactly the right angle, so that the fingerboard is at the correct angle to the body
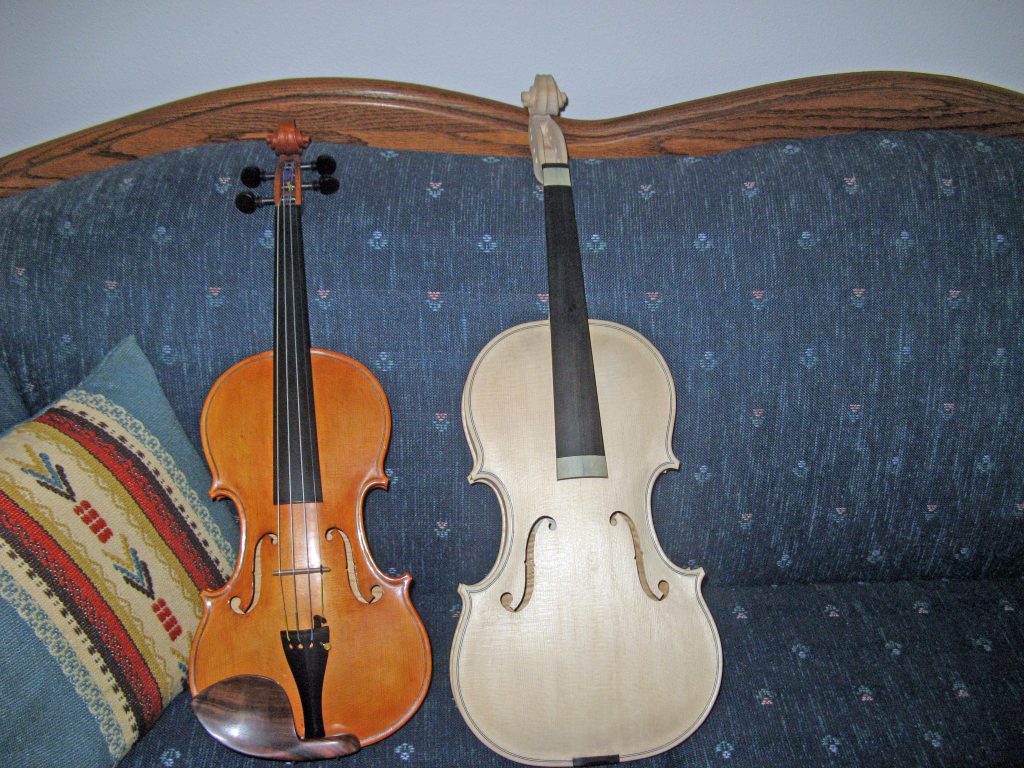
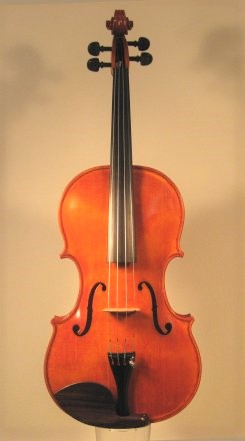
Comparison of violin and viola
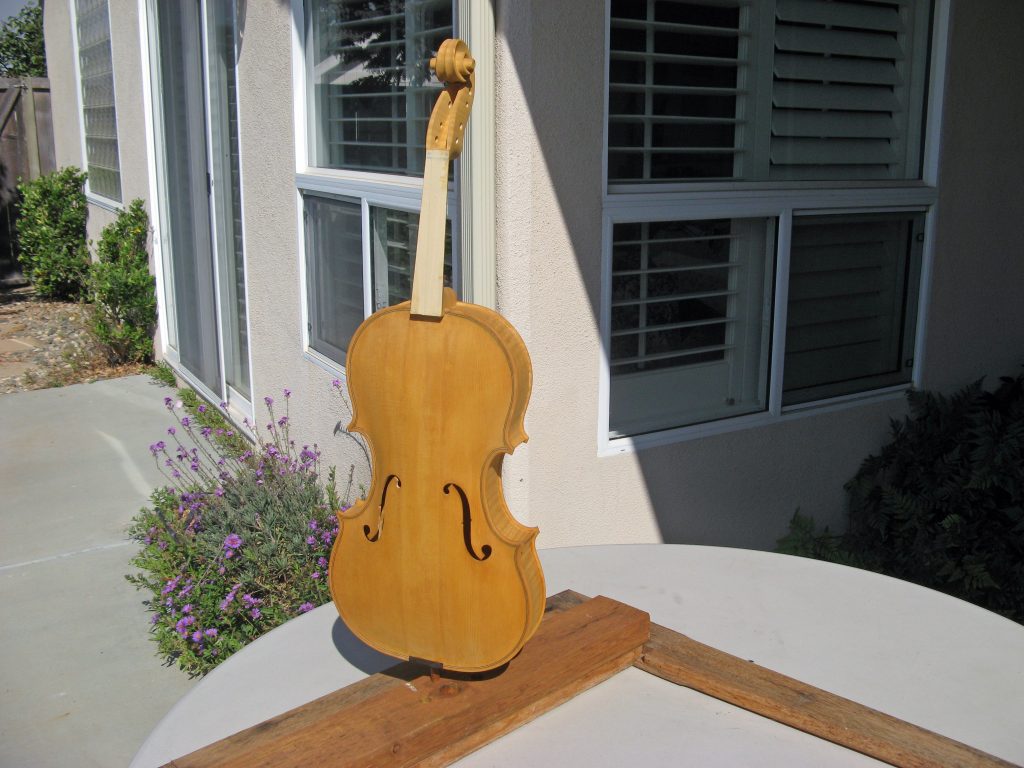
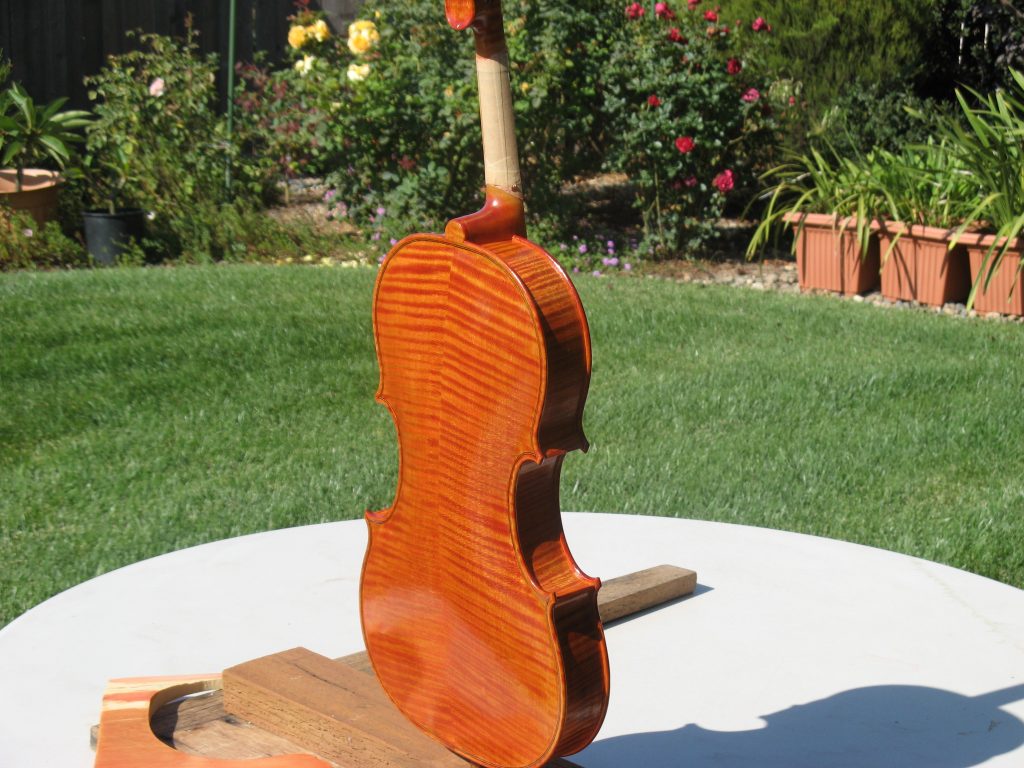
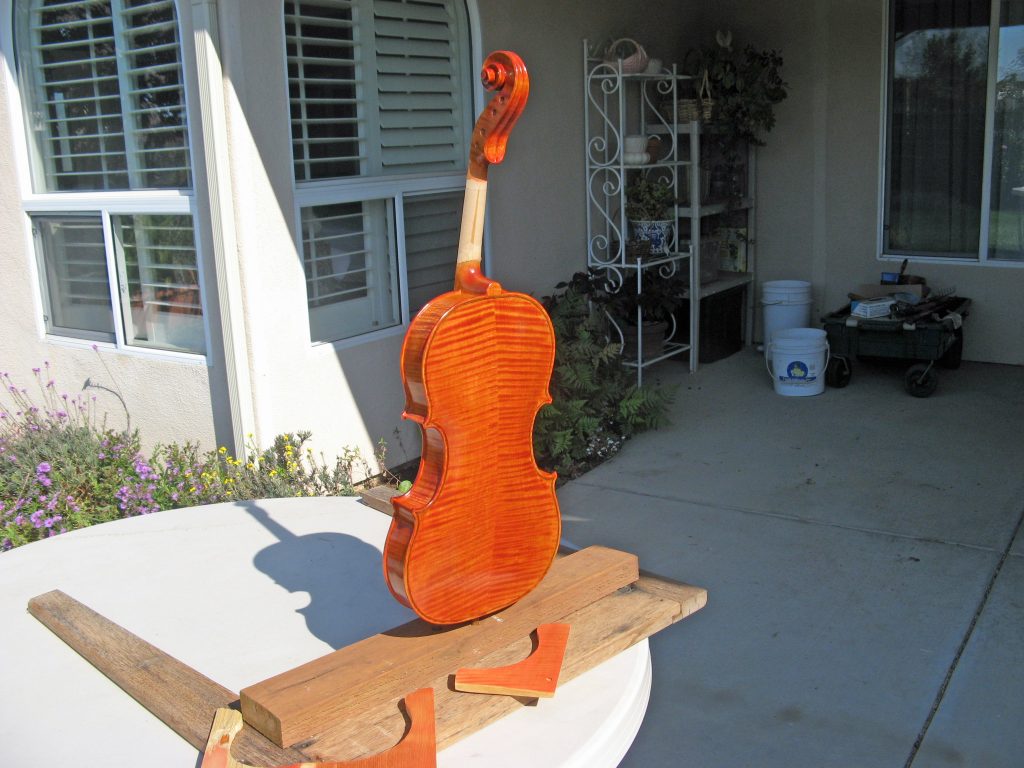
A base coat has been applied
The viola dries in the sun as each coat of varnish is applied